| SUSE LINUX Enterprise Server – Installation and Administration Part I. Installation / Chapter 4. Central Software Installation and Update | ||||
|---|---|---|---|---|
 | 3.12. Mass Storage via IP Networks — iSCSI | 4.2. Managing Software Updates with the YOU Server |  | |
| SUSE LINUX Enterprise Server – Installation and Administration Part I. Installation / Chapter 4. Central Software Installation and Update | ||||
|---|---|---|---|---|
| 3.12. Mass Storage via IP Networks — iSCSI | 4.2. Managing Software Updates with the YOU Server | | |
Table of Contents
Abstract
If you want to install a pool of systems within a network with SUSE LINUX Enterprise Server, you can use YaST to provide installation data from a central location. YaST also provides a module for central management of software updates.
Instead of installing each computer with a set of installation media, provide the installation data on a dedicated installation server in your network and fetch it from there to install the clients. The YaST installation server supports HTTP, FTP, and NFS. With the help of the service location protocols (SLP), this server can be made known to all clients in the network. This means that there is no need to select the installation source manually on the clients.
![[Tip]](admon/tip.png) | Information about SLP |
|---|---|
Detailed information about SLP under SUSE LINUX is available in Section 21.6. “SLP Services in the Network”. | |
Start +. Then configure the new installation server in four steps:
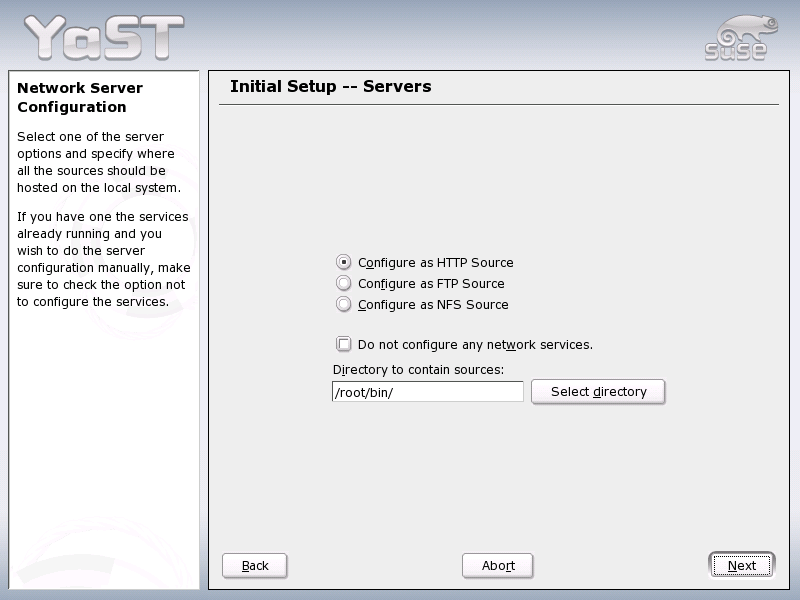
YaST supports three types of installation server: HTTP, FTP, and NFS. Select the desired server type. From now on, the selected server service is started automatically every time the system starts. If a service of the selected type is already running on your system and you want to configure it manually for the server, deactivate the automatic configuration of the server service with . In both cases, define the directory in which the installation data should be made available on the server (see Figure 4.1. “YaST Installation Server: Selecting the Server Type”).
This step relates to the automatic configuration of server services. This dialog is skipped when automatic configuration is deactivated. Define an alias for the root directory of the FTP or HTTP server on which the installation data will be found. The installation source will later be located under ftp://<Server-IP>/<Alias>/<Name> (FTP) or under http://<Server-IP>/<Alias>/<Name> (HTTP). Name stands for the name of the installation source, which is defined in the following step. If you have selected NFS in the previous step, define wild cards and exports options. The NFS server will be accessible under nfs://<Server-IP>/<Name>. Details of NFS and exports can be found in Section 21.10.4. “Exporting File Systems Manually”.
Before the installation media are copied to their destination, define the name of the installation source (ideally, an easily remembered abbreviation of the product and version). YaST allows providing ISO images of the media instead of copies of the SUSE LINUX CDs. If you wish to take this route, activate the relevant check box and specify the directory path under which the ISO files will be found locally. Depending on which product to distribute using this installation server, it may be that more add-on CDs or service pack CDs are required to install the product completely. If you activate , YaST automatically reminds you to supply these media. To announce your installation server in the network via SLP, activate the relevant check box.
The most lengthy step in configuring an installation server is the copying of the actual SUSE LINUX CDs. Insert the media in the sequence requested by YaST and wait for the copying procedure to end. When the sources have been fully copied, return to the overview of existing information sources and close the configuration by selecting .
Your configuration server is now fully configured and ready for service. It is automatically started every time the system is started. No further intervention is required. You only need to configure and start this service correctly by hand if you have deactivated the automatic configuration of the selected network service with YaST as an initial step.
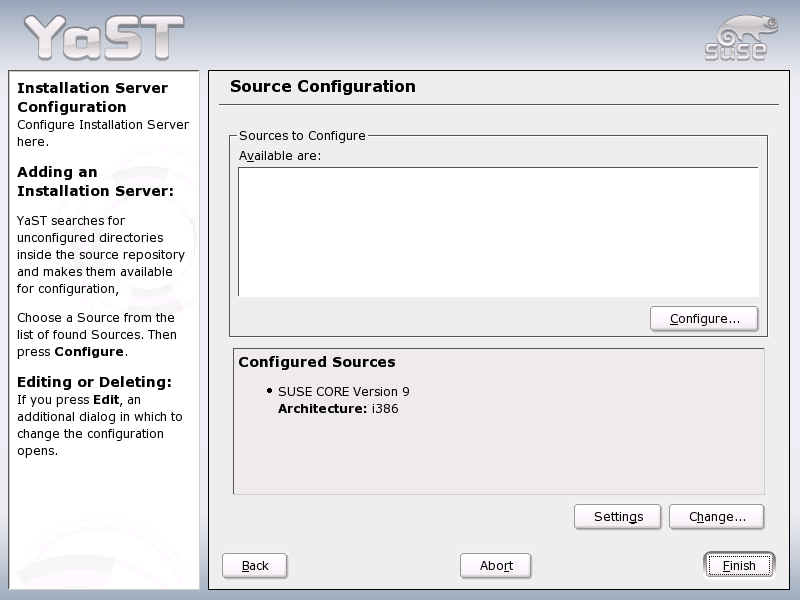
If your installation server should provide the installation data for more than one product of product version, start the YaST installation server module and select in the overview of existing installation sources (see Figure 4.2. “YaST Installation Server: Overview of Installation Sources”) to configure the new installation source.
To deactivate an installation source, select in the overview to reach a list of all available installation sources. Choose the entry to remove here and select . This delete procedure only relates to the deactivation of the server service. The installation data itself remains in the directory chosen. However, you can remove it manually.
▪ s390;zseries
The use of installation media available via NFS or FTP to install SUSE LINUX Enterprise Server for
IBM S/390 and zSeries is explained in Architecture-Specific Information.
▪
As soon as the installation server is available with the required installation data in the network, all computers in the local network can access the data. If a client should be installed from scratch, all you need is a bootable medium to initialize the process. At the boot prompt — as described in Section 3.1.7. “Passing Parameters to linuxrc” — enter the name of the server from which the installation data should be obtained in the format install=<URL>.
Afterwards, your network interface is automatically configured, preferably via DHCP. If this is not possible, perform manual configuration with linuxrc or specify the HostIP parameter at the boot prompt. The installation kernel is then started and YaST begins installation. Details of linuxrc can be found in Section 3.1. “linuxrc”.
If your installation server is announced in the network via SLP, this simplifies the installation procedure. Use F3 and the arrow keys in the graphical splash screen to select the SLP option and confirm the selection with Enter. Alternatively, enter install=slp at the boot prompt. In both cases, linuxrc starts an SLP inquiry for an installation server in the network.
Now select in the boot menu and confirm with Enter. The installation kernel boots and YaST starts the installation. If several installation sources can be found with SLP, select the required source in linuxrc before YaST starts work.
The rest of the installation procedure continues as described in the previous chapters. For detailed information about the SLP protocol and its applications, see Section 21.6. “SLP Services in the Network”.