| AppNote: Installing Oracle 10g on SLES9 
Posted: 23 Sep 2005
This article describes the steps required in order to build an installation
of Oracle 10g on top of SUSE Linux Enterprise Server 9 (SLES 9), for
demonstration or evaluation purposes. While I have used 10g and SLES9 SP1 for
this article, Oracle 9i or SLES9 would work the same way.
The first step, of course, is to have a working installation of SLES9 or
SLES9 SP1. I used a VMware virtual machine (version 5). During the installation,
the VMware graphical interface may not be available, depending on your video
card and host operating system. Once the installation is completed, you should
be able to access the graphical X interface and install the VMware tools.
I worked with Windows as an operating system for a few years for my demo
Oracle systems, but I switched to Linux two and a half years ago. I immediately
noticed a performance improvement, especially when using VMware and multiple
concurent virtual machines. It was also more stable, especially with services
that would time out at restart if I was doing something else with my system,
etc. And with Linux, all the same Graphical tools for Oracle are available, so
for me, Linux is a no-brainer when it comes to putting together an Oracle demo
system. SUSE Linux Enterprise Server is the easiest Linux when it comes to
installing Oracle, thanks to a little rpm called orarun, which takes care of the
kernel parameters and all the fun stuff. 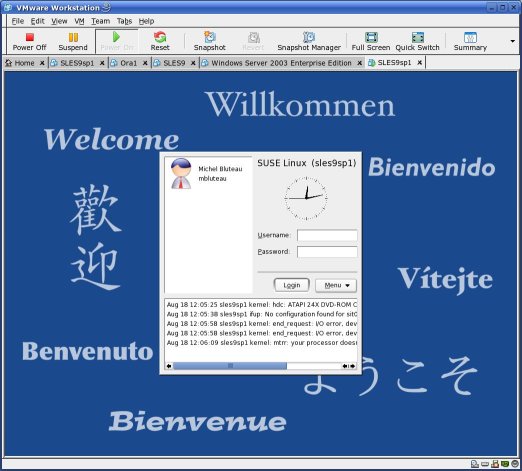
Figure 1: SUSE Linux Enterprise Server 9 SP1 in a VMware virtual
machine 
Figure 2: SLES 9 SP1 virtual machine, logged in as root
Prerequisites
Before we get started with the Oracle installation, some prerequisites must
be met. I suggest you have a minimum of 512MB of RAM. Also, you must install
some optional packages. The easiest way is to install them during the Oracle
install process, but you can also use YaST to add them after the installation
has completed. 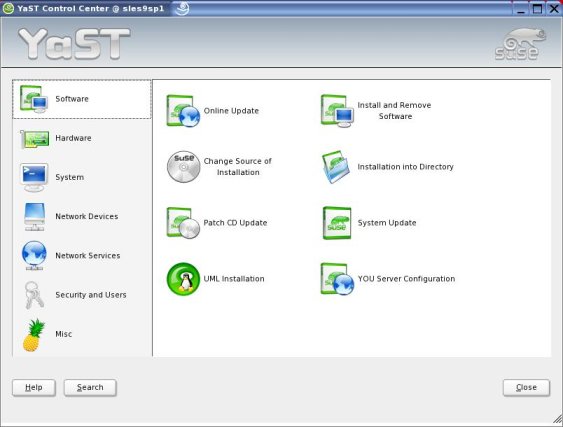
Figure 3: YaST interface, Install and Remove Software, to install optional
packages 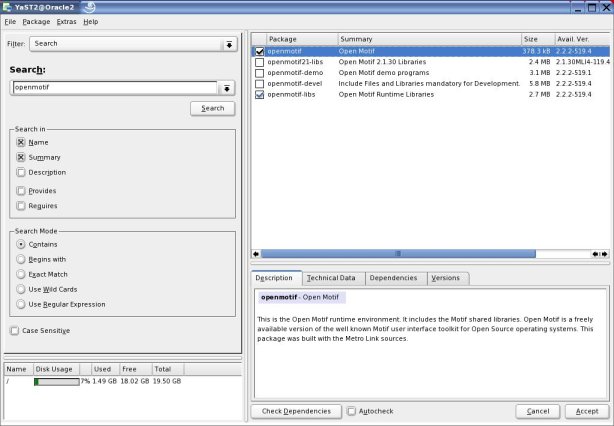
Figure 4: openmotif optional package 
Figure 5: gcc optional package 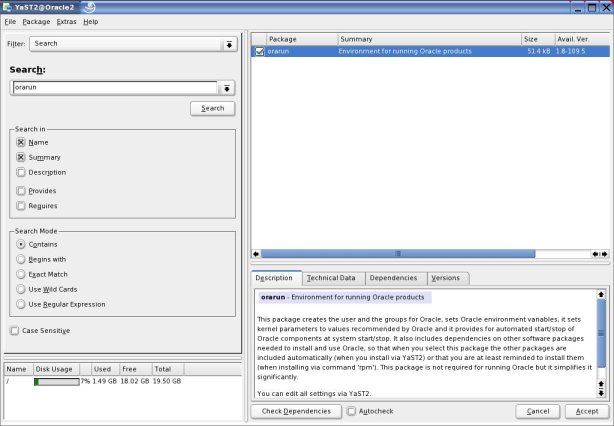
Figure 6: orarun optional package. This rpm takes care of configuring the
kernel parameters and the startup files for Oracle. 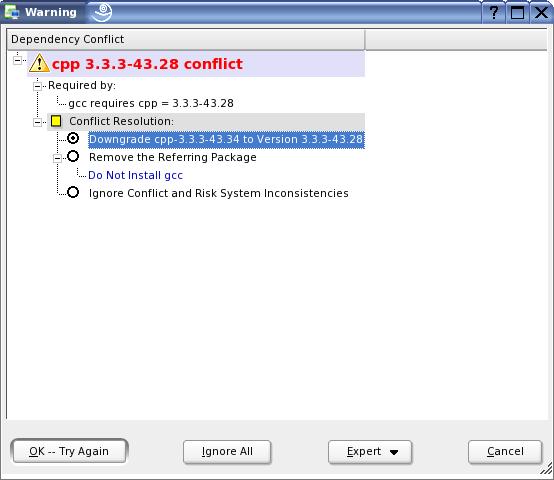
Figure 7: Conflict warning: cpp and gcc
Note: If you install these packages on SLES9 SP1 after the Oracle
installation, you will get this conflict warning with cpp, in relation to gcc.
You can accept to downgrade cpp (this is a demo system, right?), and then you
can run YaST Online Update to bring all the packages back to the optimal
version.
1. Set a password for the oracle system user, created by
orarun. 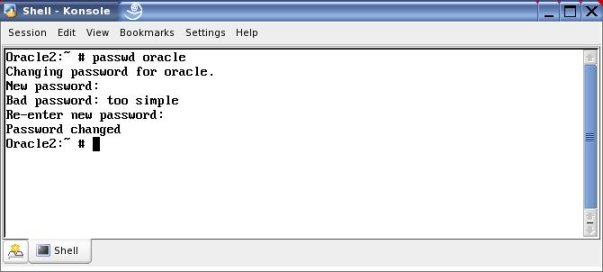
Figure 8: Setting the Oracle user password
2. Edit /etc/passwd in order to allow the Oracle user to log in. By
default, the shell is set to /bin/false, so the user cannot log in. 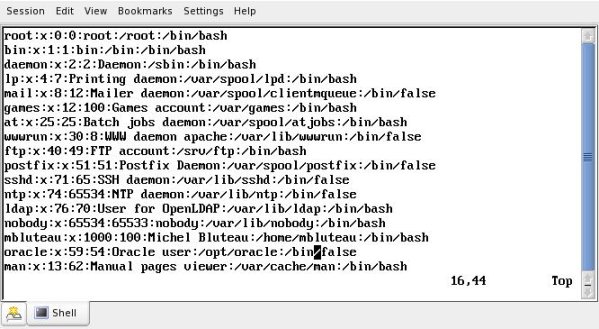
Figure 9: Enabling the login for the Oracle user 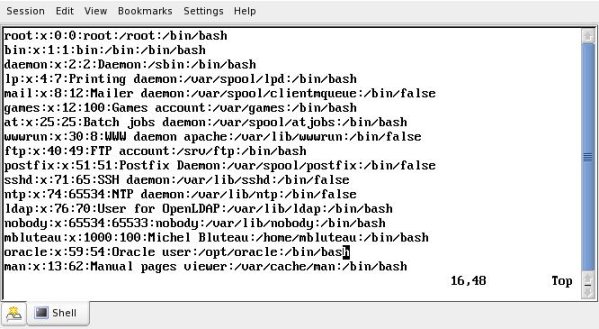
3. Change the shell to /bin/bash or the shell of your choice.
Figure 10: Changing the shell 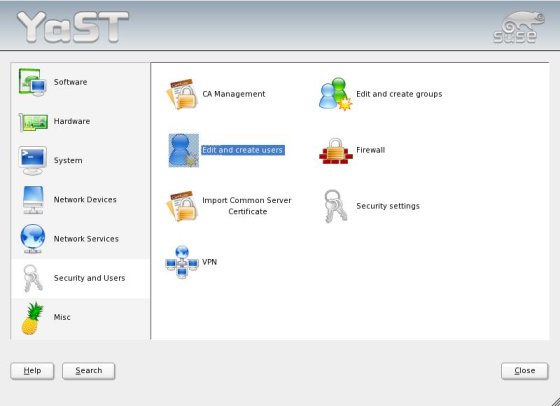
4. For some Oracle products like Applications 11i, you also need to
modify the group memberships for Oracle.
Figure 11: Modifying the group memberships for Oracle 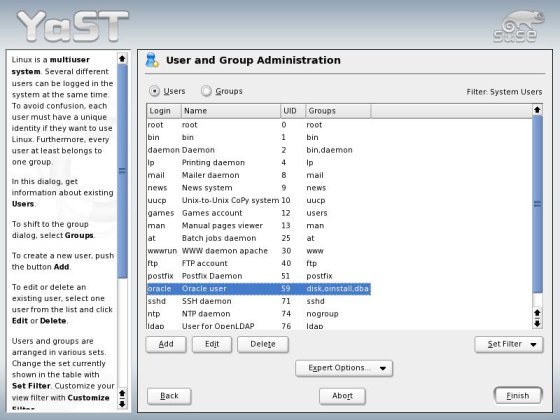
5. Add the "dba" as a group for the Oracle user.
Figure 12: Adding the dba
6. Log out and log back in as "oracle" to start the
installation. 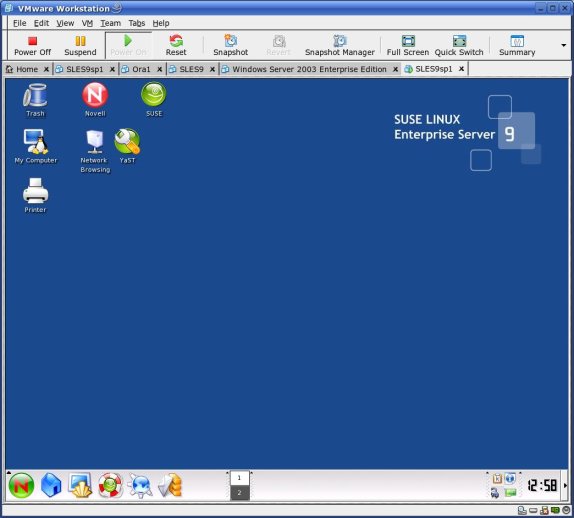
Figure 13: SLES9 SP1 virtual machine logged in as user "oracle"
Now you're ready to install Oracle. If you don't have a copy of Oracle with
you, you can download an evaluation copy from Oracle's web site. 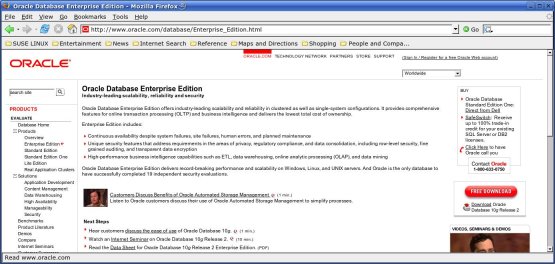
Figure 14: Oracle web site (click FREE DOWNLOAD) 
Figure 15: Oracle downloads for various platforms
I downloaded the 10.1.0.3 database and the client ISO, which gives me 2 CDs -
one for the database server and one for the client.
Starting the Installation
Let's start installing the database.
1. Navigate the installation CD and find runInstaller. 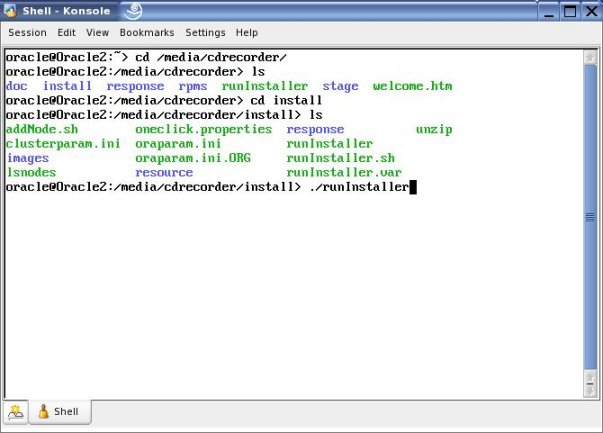
Figure 16: Finding runInstaller 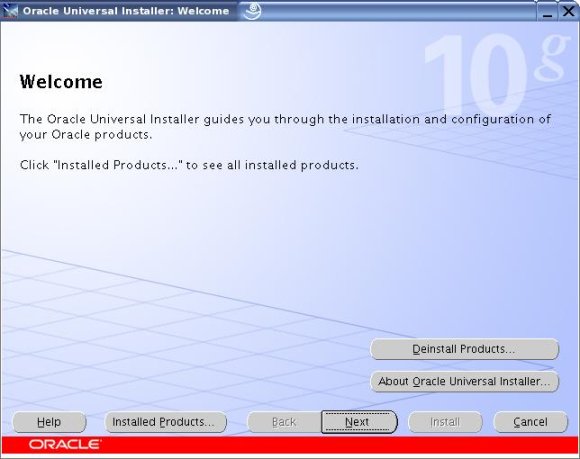
Figure 17: Oracle Universal Installer
2. Click Next to continue. 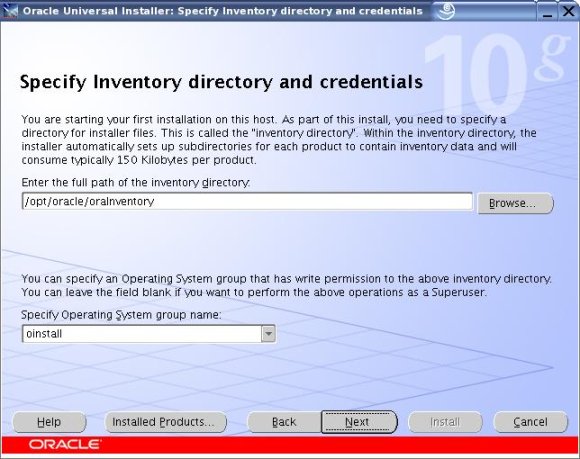
3. Specify the Inventory directory and credentials. You can accept the
defaults.
Figure 18: Inventory directory and credentials 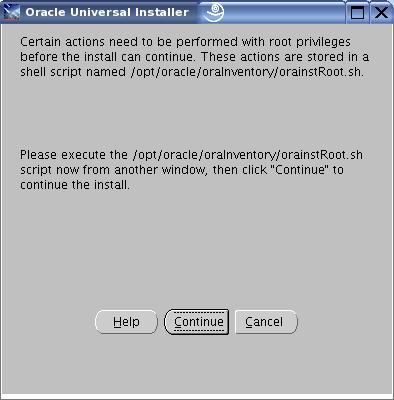
The OUI dialog will warn you that you need to execute a script as root.
Figure 19: OUI dialog warning 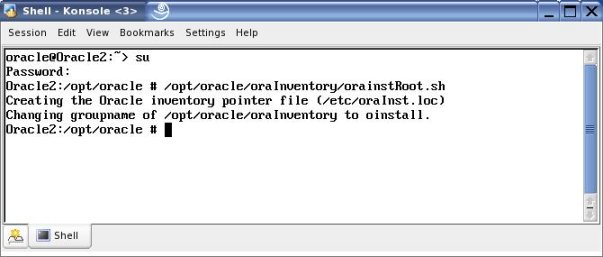
4. Use su to assume root privileges, then execute the required
script.
Figure 20: Assuming root privileges and running the script 
5. Specify the necessary File Locations. You can accept the
defaults.
Figure 21: Specifying File Locations 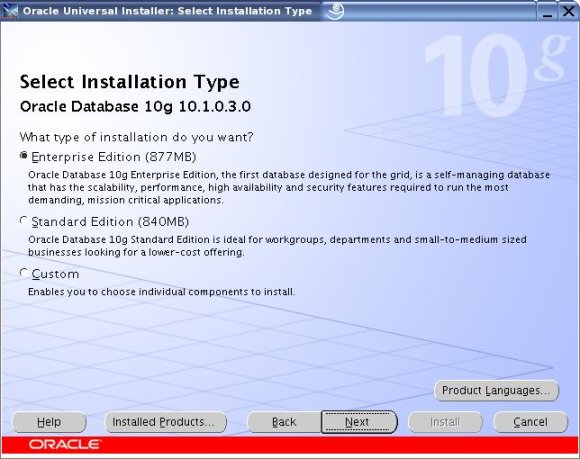
6. Select the Installation Type. In my example, I selected Enterprise
Edition.
Figure 22: Selecting the Installation Type 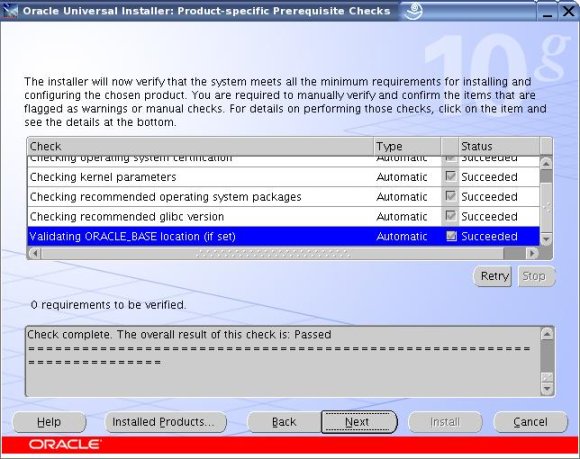
At this point the OUI performs some validation tests. If everything goes
well, the result is Passed. Otherwise, you will need to address the issues
causing the failure.
Figure 23: OUI validation tests
7. Select the Database Configuration. You can choose General
Purpose. 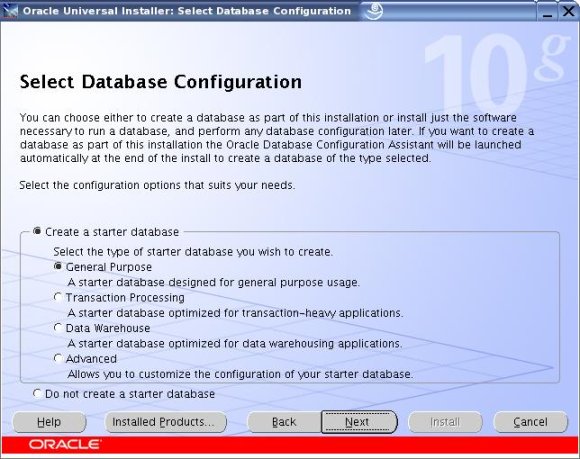
Figure 24: Database Configuration 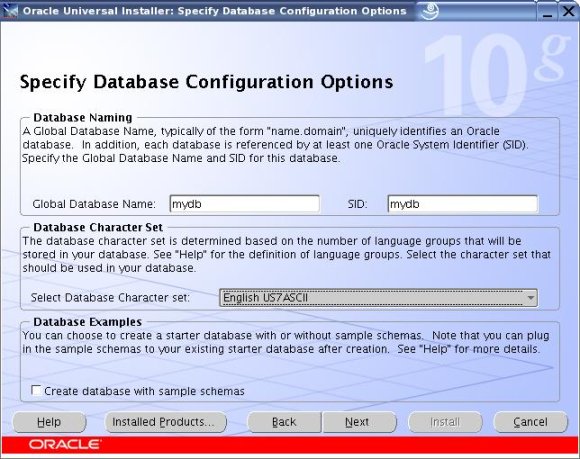
8. Specify the Database Configuration Options. You can change the
default character set.
Figure 25: Database Configuration Options 
9. Select the Database Management Option. If you don't have a
management server available, accept the defaults.
Figure 26: Database Management Option 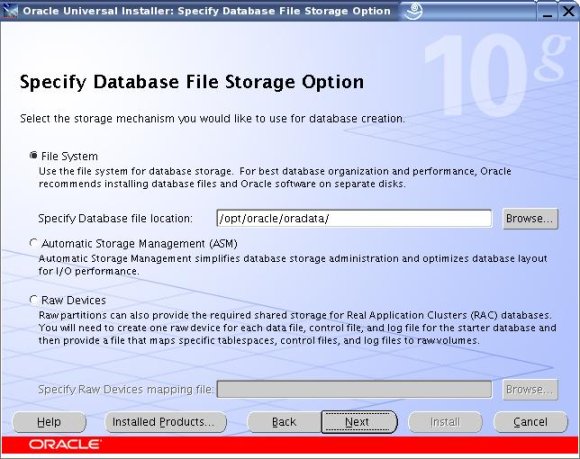
10. Specify the Database File Storage Option. You can accept File
System.
Figure 27: Database File Storage Option 
11. Specify Backup and Recovery Options. You can accept the defaults
here.
Figure 28: Backup and Recovery Options 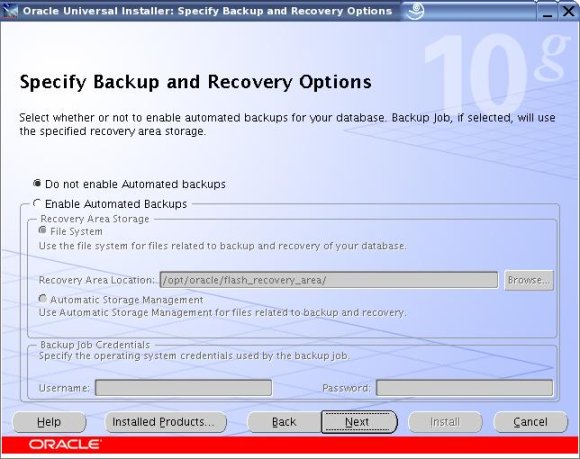
12. Specify Database Schema Passwords. You can set different passwords
for system users, or use the same password for all.
Figure 29: Database Schema Passwords 
13. At the Summary screen, review your choices and click Install to
start the installation.
Figure 30: Starting the installation
The Install Progress screen appears. 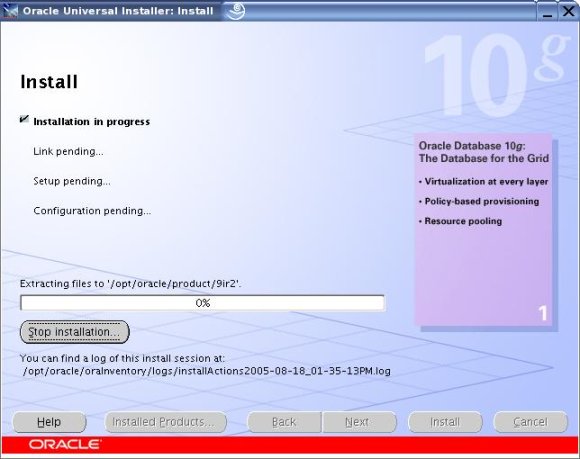
Figure 31: Install progress screen 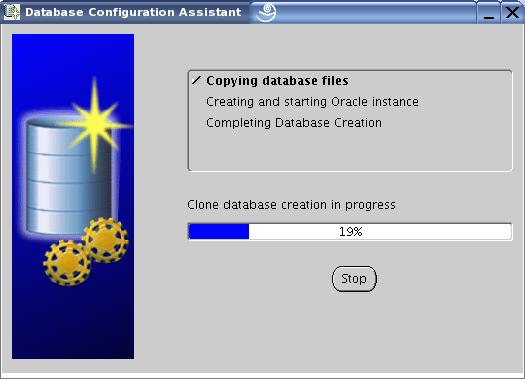
The Database Configuration Assistant is launched automatically by OUI.
Figure 32: Database Configuration Assistant 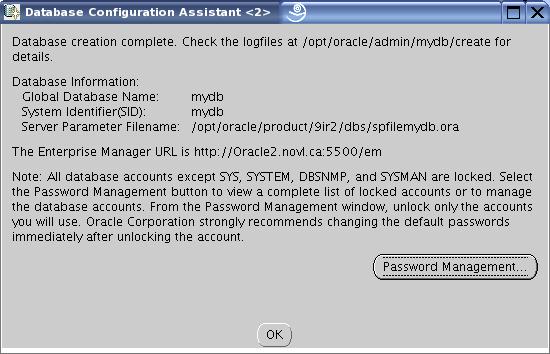
The Summary for the Database configuration assistant appears.
Figure 33: Summary for the Database configuration assistant
14. Execute the following script as root. 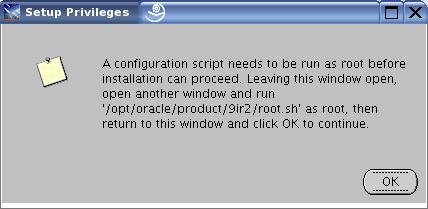
Figure 34: Another script executed as root 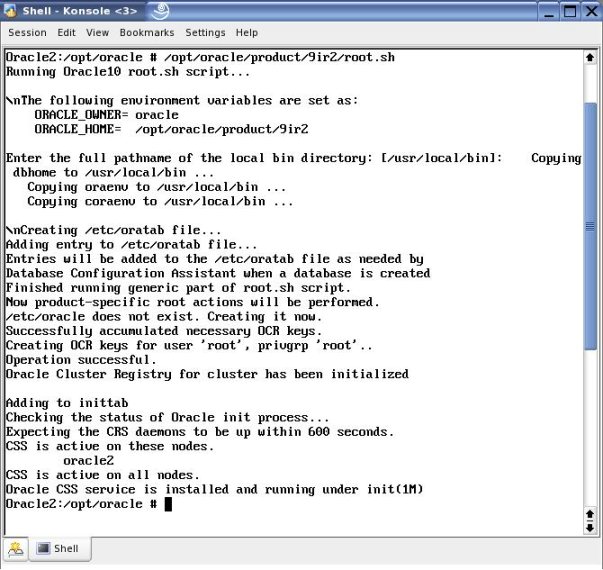
Figure 35: Executing the script
This completes the installation. You should write down the information that
appears on your corresponding screen; an example is shown below: 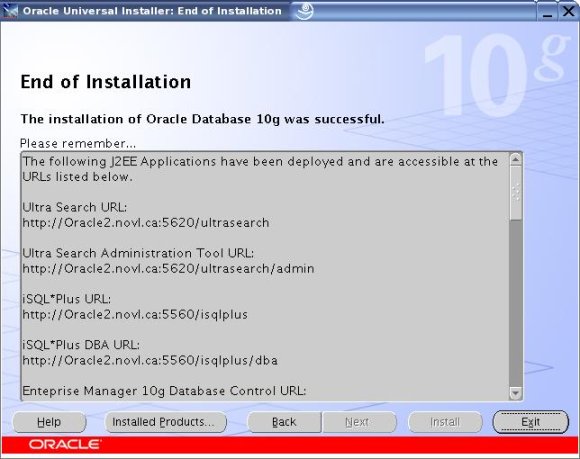
Figure 36: End of installation
You can now exit OUI.
File Modifications
There are a few files you should be aware of that need modifications, so
Oracle can start successfully.
1. Locate and open the /etc/sysconfig/oracle file for editing. 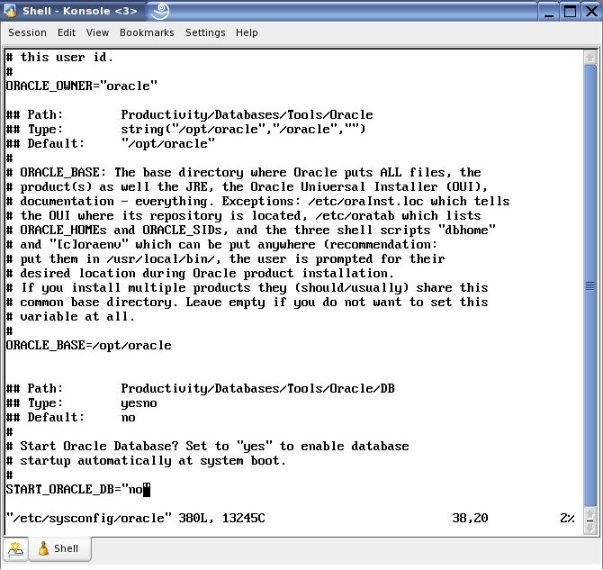
Figure 37: /etc/sysconfig/oracle file 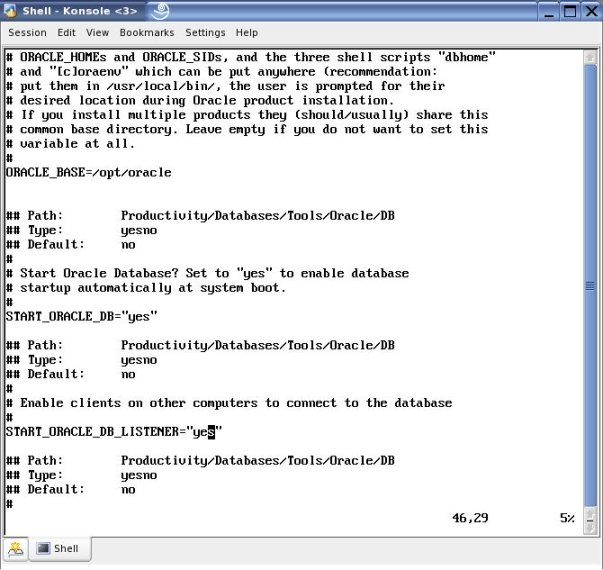
2. At a minimum, set START_ORACLE_DB and START_ORACLE_DB_LISTENER to
yes. You can also enable OID and other options. This file also takes care of
kernel parameters.
Figure 38: Setting Oracle parameters 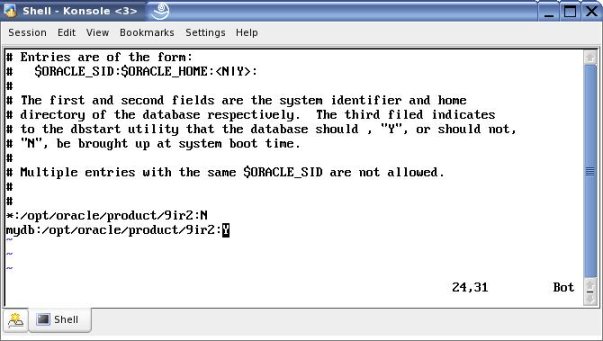
3. Modify /etc/oratab so the mydb instance will be started.
Figure 39: Modifying /etc/oratab
Web based tools like isqlplus are available at this point. 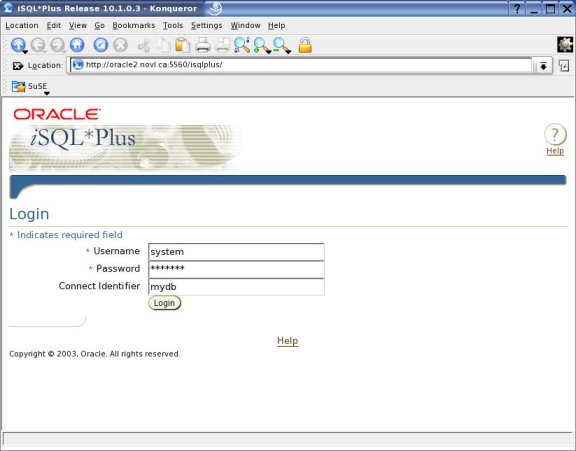
Figure 40: Web based tools
4. You can use isqlplus to submit a sample SQL query.To start iSQLplus
manually, use the following command while logged in as "oracle":
isqlplusctl
start& 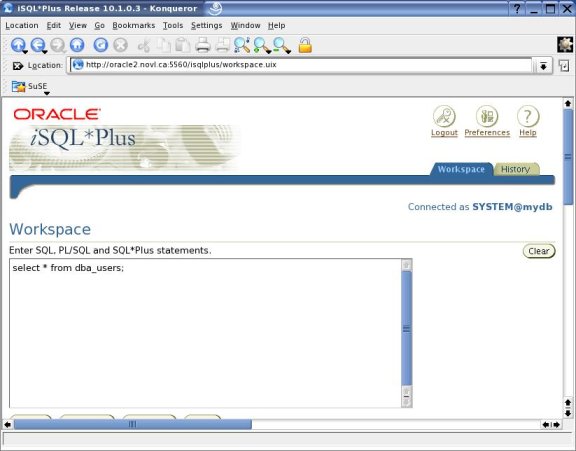
Figure 41: isqlplus, submitting a SQL query 
Figure 42: isqlplus, result from the query
At this point, Oracle should start automatically. You can also use commands
such as /etc/init.d/oracle start|stop in order to manage Oracle.
Installing the Oracle Client
We will now install the Oracle client on the same machine. You can use a
separate machine if you like.
1. Navigate to the root of the client CD and execute
runInstaller. 
Figure 43: Executing runInstaller
2. Click Next. 
Figure 44: Oracle Universal Installer
3. Specify File Locations; accept the defaults. 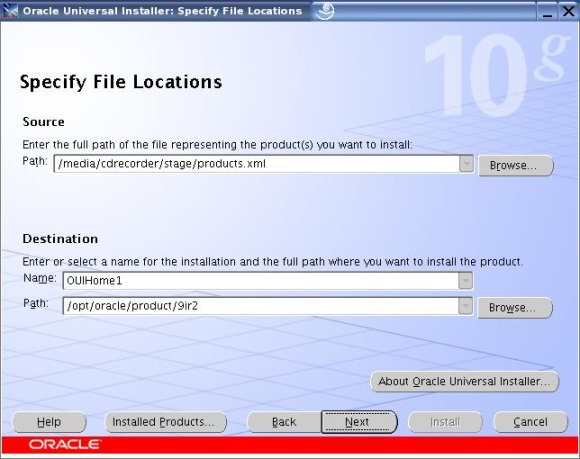
Figure 45: File Locations
4. For the Installation type, select Administrator. 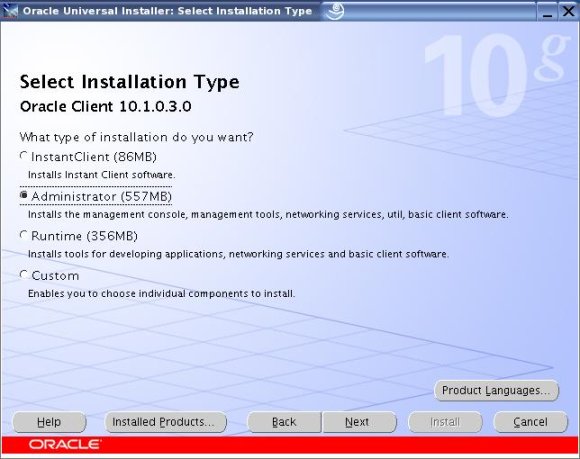
Figure 46: Administrator Installation type
5. On the Summary page, click Install. 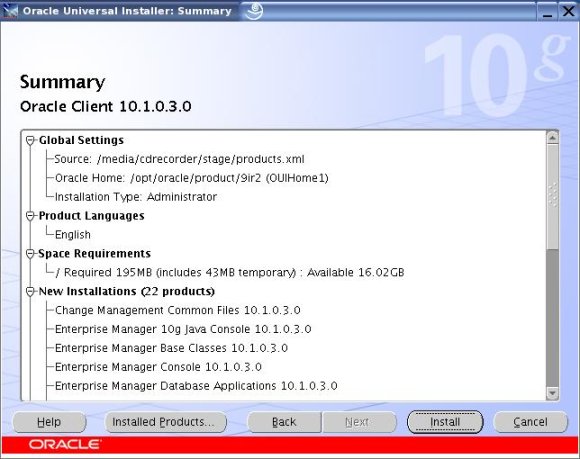
Figure 47: Summary page 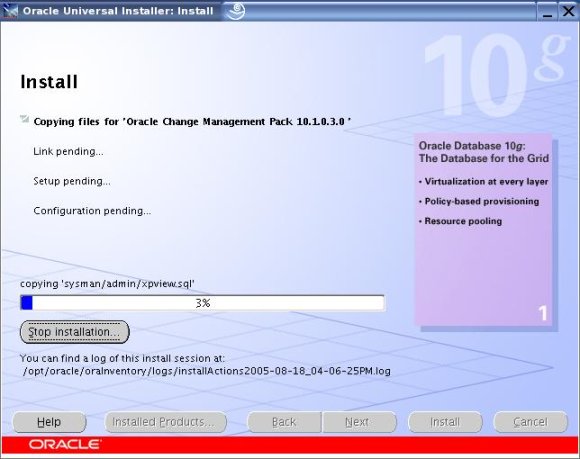
The Install page shows the current progress.
Figure 48: Install page
The End of Installation page appears. 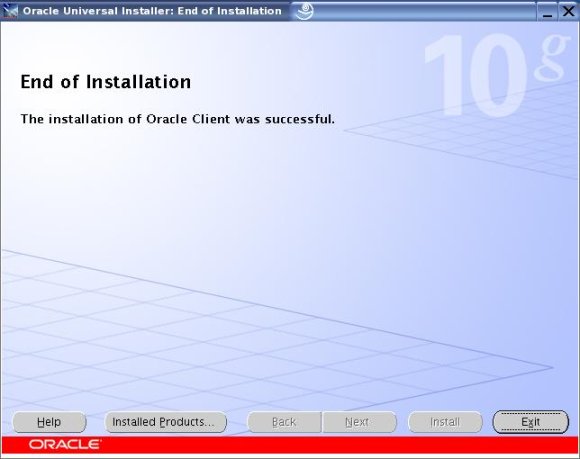
Figure 49: End of Installation
6. Exit OUI now.
You can find Oracle client tools under /opt/oracle/product/9ir2/bin 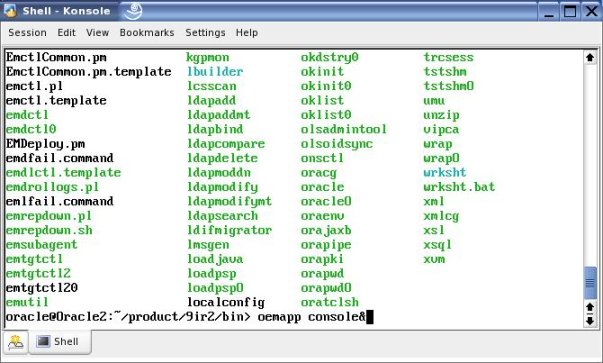
Figure 50: Oracle client tools 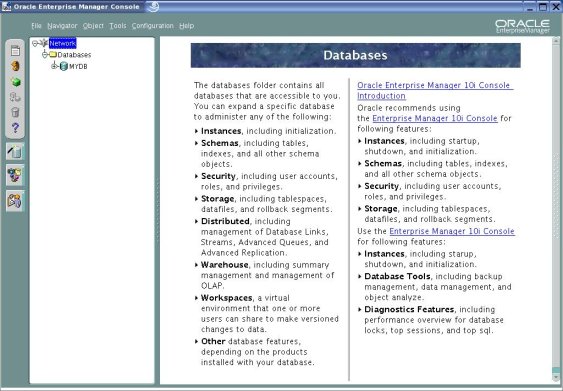
The Enterprise Manager welcome page appears. 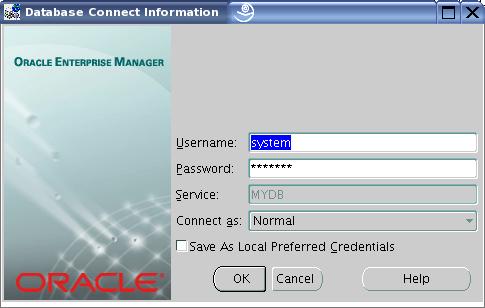
Figure 51: Enterprise Manager welcome page
7. Log in as "system".
Figure 52: System login 
Figure 53: Enterprise Manager, once logged in as system
That's it. By now I hope you are equipped with enough ammo to give the thing
a good kick in the tires. I hope you'll be as satisfied as I am with your
"unbreakable" Linux Oracle server.
| 


