| Gimp Tips Part 2: Rounding Corners 
Posted: 9 Feb 2005
Two methods exist to create a rounded corner in Gimp 2 and they both have
their strong points in certain situations.
In order to illustrate my
point, take the the selection below, for example.
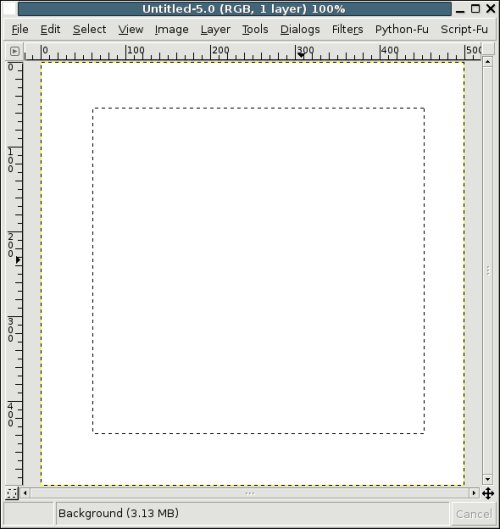
To
round this out, I'd definitely use the Round Script-Fu option.
rounding using script-fu -> selection -> roundThis script works
on very simple selections, like the one seen above. In order to use it,
right-click on the image and follow the menus to Script-Fu -> Selection ->
Round
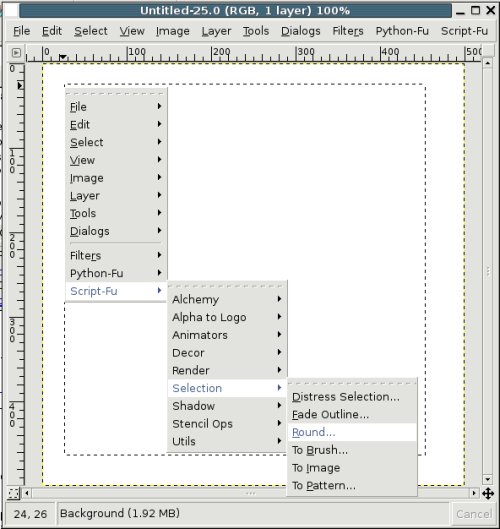
Then
choose the radius with which you'd like to round. 0.1 or 0.2 usually suits my
needs just fine.

After
you make your selection you'll notice the effects right away.

You'll
have perfectly rounded corners for everyone to admire.
So.... What if you
have some crazy selection you need to round? Will this method work? Let's
see....
I created a monstrosity of a selection with many corners which
need rounding.

Then
I applied the script to it...

Definitely
not what I wanted... So there must be another option, right? What are you
kidding? Are we using Linux, or aren't we? Of course there's another
option.
shrink / grow method of roundingI'm not quite sure if the creators of
Gimp intended what I'm about to show you, but it works fantastically - so I hope
they never remove the functionality.
With the above image at hand, to
round the corners, simply right click and follow the menus to Select ->
Shrink

Here,
you'll probably have to fiddle with your settings for each individual selection
you wish to round. The rule is: The more you shrink, the more you
round.
*note*Be careful not to destroy your image by shrinking
too much. If you shrink too much, things will start to disappear in your
selection.
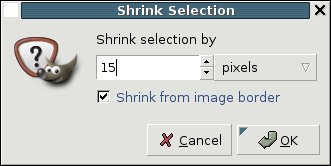
I
chose to shrink mine 15 pixels.
After you shrink the image, the next step
is to enlarge it again by right-clicking and following to Select ->
Grow
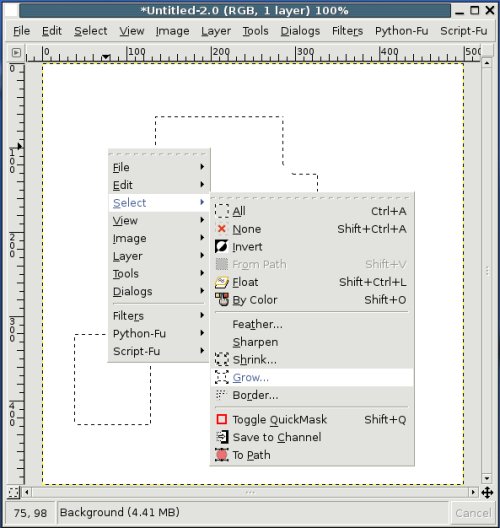
Here,
it's important you select a number which is between 0 and the number you shrank
it. The closer the grow number is to the shrink number, the less the inner
corners will be rounded. e.g. If I set my grow number to 15, my inner corners
will not be rounded at all.
So, I chose 10.

After
hitting "Ok", if you chose your settings correctly, you'll notice a wonderfully
rounded selection.
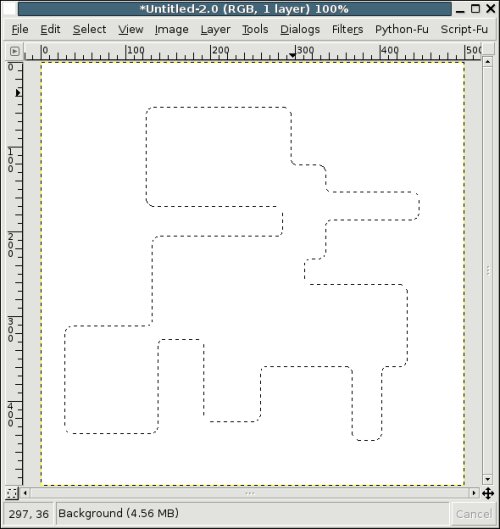
Now...
If you're going to fill your image in, you'll most likely want an anti-aliasing
effect on the border of your selection. This gives the fill a nice soft feel
around the edges.
To accomplish this, you'll want to feather your
selection.
In order to do this, you right-click on your image, and follow
the menus to Select -> Feather...
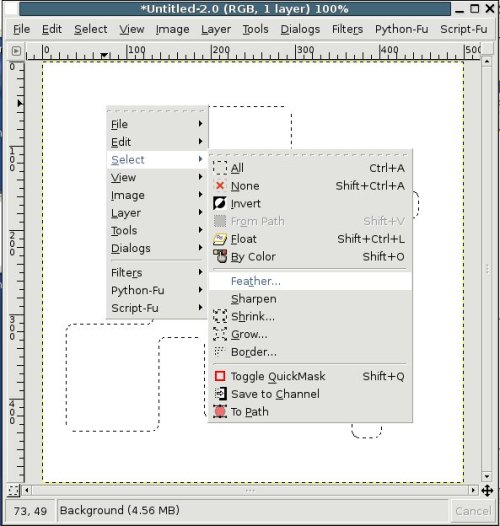
You'll
not want to put a number too high in the resulting box, however... If it's too
high, when you fill your image in, the corners will seem more like a gradient,
than an anti-alias.
2 pixels suits me most of the time.
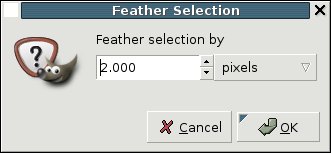
Click
OK and your selection is ready to be filled. I filled mine with a simple black
paint from the paint bucket.
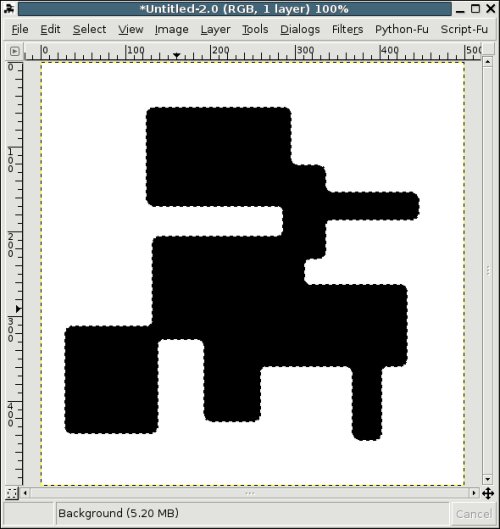
If
we zoom into the corners, we'll see the feathering at work...
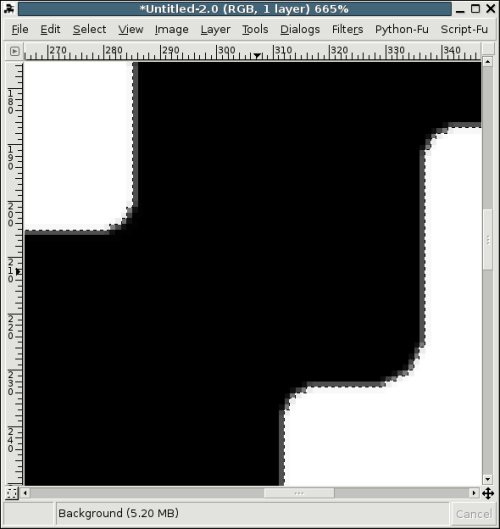
Notice
the gray line right inside the selection? That's the feathering that gives your
fill a nice soft edge; otherwise, it would fill to the selection and stop,
leaving a very harsh edge everywhere.
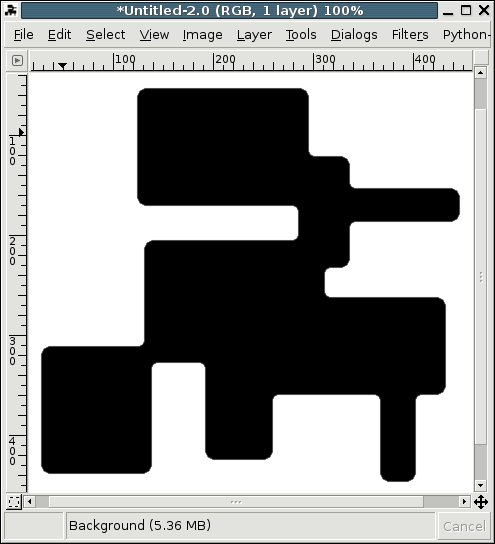
What you're left with are very
nice, rounded corners in your image! Happy Gimping!
|


